Top Tips For The Perfect Pavlova
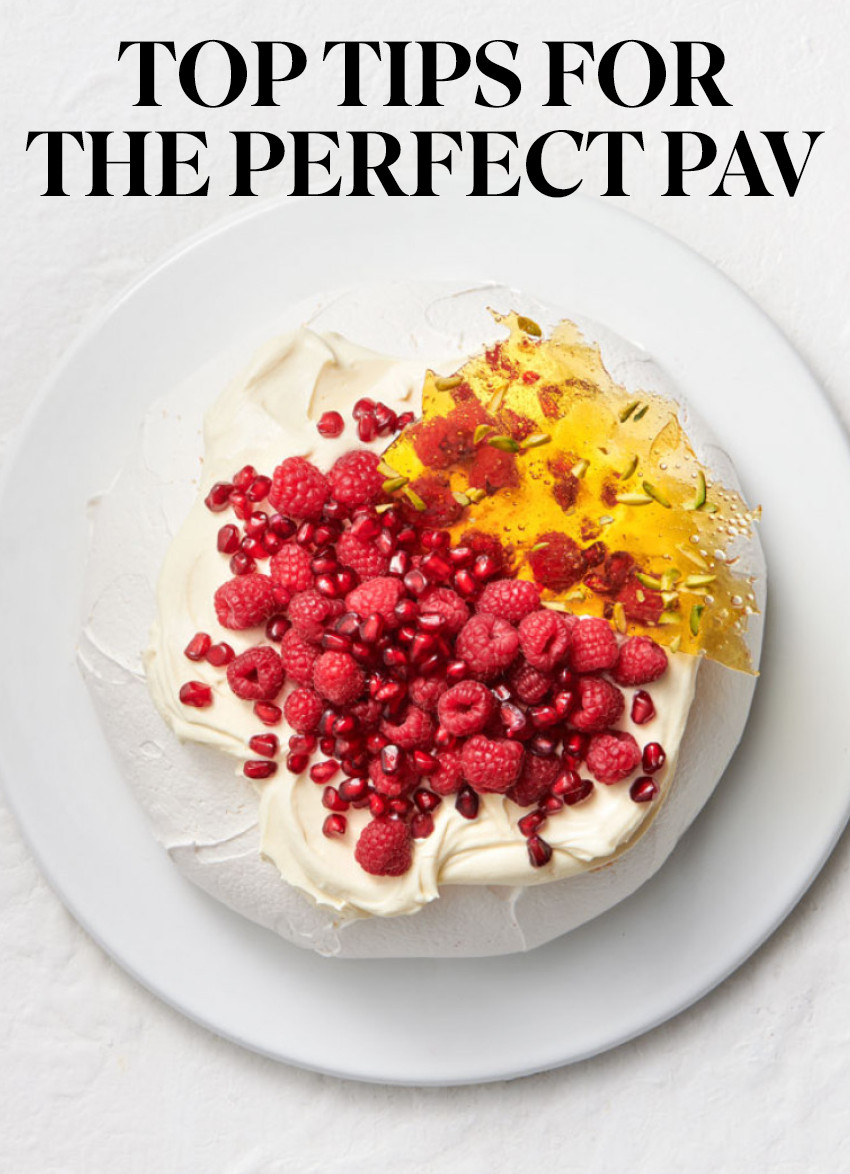
Preparing a pavlova is a Kiwi classic, especially during the festive season! To avoid falling victim to sunken tops or weeping cracks we've gathered a selection of top tips and tricks we've learnt to make sure those pavs come out looking gorgeous...

Moisture in the air can ruin the crispness. Choose a dry day for baking, or run a dehumidifier if your kitchen is damp. (Good luck in Auckland!)

Traditionally older rather than fresher eggs have been used as the whites break down easier, although fresh eggs provide a more stable meringue.

Cold eggs are easier to separate into yolks and whites, but room temperature whites beat up better (separate cold then bring to room temp before beating). Even a tiny bit of yolk can prevent the whites from whipping properly. Be meticulous when separating eggs.

Wipe the bowl beforehand with lemon juice or white vinegar to remove any greasy residue before beating the egg whites (grease affects the ability for the egg whites to form peaks). Plastic bowls should be avoided as they tend to retain grease.

Add caster sugar slowly, a little at a time, whisking until fully dissolved. This ensures a smooth, glossy meringue. Test by rubbing a bit between your fingers; it should feel smooth, not grainy.

Over-whisking can cause the proteins to break down, leading to a dry, grainy meringue that collapses during baking. Stop when you reach stiff, glossy peaks.

Draw a circle on baking paper the desired size of the pavlova and put ink/pencil side down on a baking tray. Use tiny daps of pavlova mixture on the underside corners of the baking paper to ‘glue’ it to the tray before piling on your meringue.

Don’t peek while baking, as temperature fluctuations can cause the pavlova to collapse or crack. Once baked, turn off the oven and leave the pavlova inside to cool completely with the door ajar. This helps prevent cracks caused by sudden temperature changes.
latest issue:
127
In Dream Escape, we journey from Japan and Morocco to Italy, India and beyond, sharing recipes inspired by travel, heritage and comfort. We celebrate the champions of the Outstanding Food Producer Awards, explore the stories and recipes of chefs shaped by their cultural roots, and warm up with everything from West African soups and slow-braised lamb to porchetta, butter chicken and beef noodle soup. Alongside destination menus, Scandinavian sweets and cosy pub classics, Chrisanne Terblanche shares her favourite street-side dining spots in Bangkok, while Yvonne Lorkin explores red wine varietals. This issue, we invite you to slow down, turn the pages and escape through food.