How to: carve meat
Photography by Dean McKenzie.
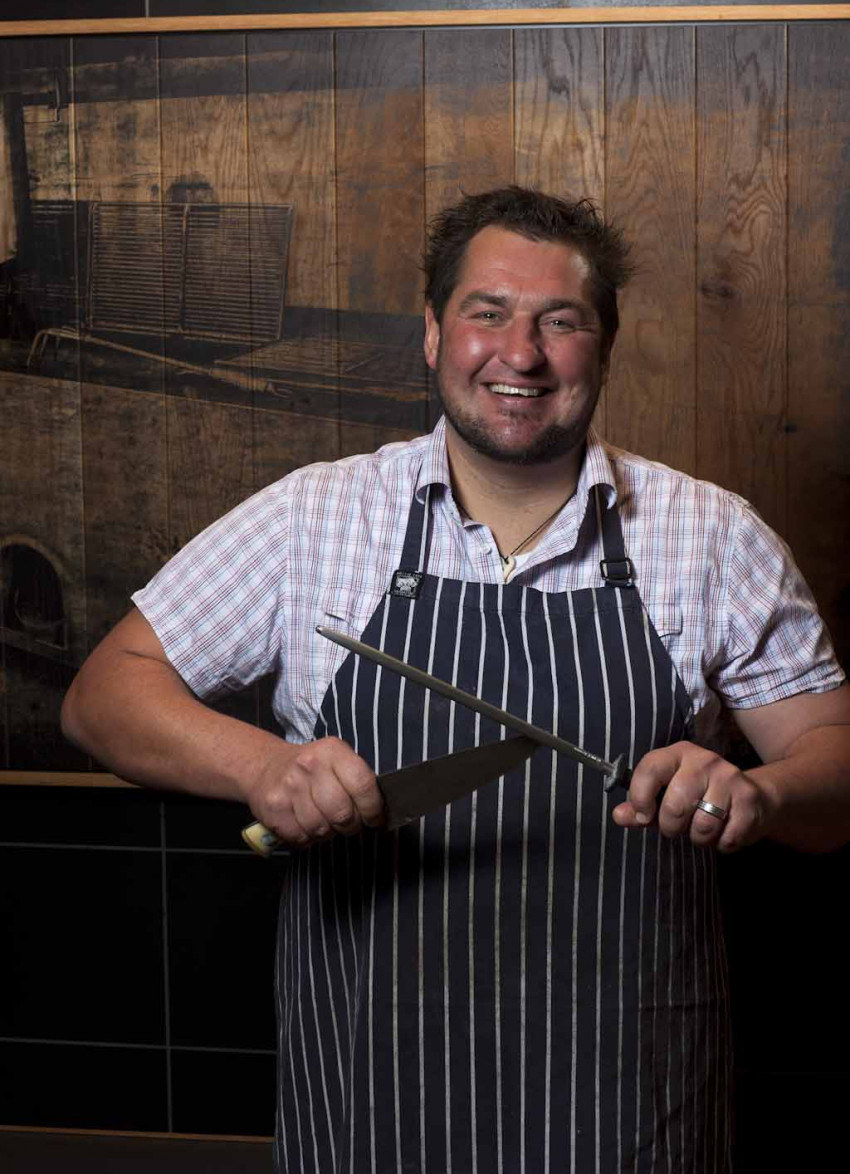
Chef and meat lover Jonny Schwass gets the knives out to demonsrate the art of carving...
A roast is one of life’s pleasures – a spectacular dish once cooked, the burden is then passed to someone to carve the meat without destroying it. Here are
some tips on preparing and handling roasted meat and a guide to carving techniques for some common cuts.
Resting
As meat cooks, its proteins heat up and set, pushing the meat juices towards the centre of the meat. This is why you can judge how ‘done’ a piece of meat is by prodding it with your fingers: the firmer the meat, the more cooked it is. It is also why resting meat before carving is crucial to creating a good juicy roast. Once removed from the oven you must allow plenty of time for the joint to relax and for the juices to re-disperse throughout the meat.
Never cover your roast with foil to keep
it warm as this will create steam and keep cooking the meat, which will become dry and tough. Instead, cover it loosely with a piece of baking paper and a tea towel.
Going against the grain
Meat’s ‘grain’ refers to the tendons and fibres that help the muscles work together, and the natural grain indicates the direction in which the animal’s muscles moved. Meat should be cut against the grain as opposed to along the length of the fibres, as it makes it easier to chew. These fibres also break down when meat is aged for a period of time before cooking; this is why aged meat shrinks less during roasting.
Seasoning
As important as seasoning the exterior of the piece of meat is seasoning the interior. Imagine a larger two kilogram joint that has a wonderful crust and has been rested beautifully – the outside is seasoned and delicious but as you carve you expose larger surfaces of unseasoned meat. A little salt and a twist of pepper judiciously sprinkled on each slice will make a huge difference in the size of the smile of your guests.
Slow and low
It is better to turn the oven down a few degrees and cook your meat for a longer time than to rush and offer your guests
a dry and overcooked roast.
Follow the map
Whether carving a leg of lamb, a shoulder of pork or a Christmas ham, knowing where the bone is allows you to ‘follow the map’ and keep the muscle groups intact when carving.
Ready to carve
Selecting the right knife for carving is almost as important as selecting the right cut of meat to roast. A good quality knife should fit your hand like a set of Italian driving gloves. It should feel comfortable, be nicely weighted and become an extension of
you. The handle should fit into your hand and you should feel comfortable with the length of the blade. A beautifully made knife will last a lifetime and make cooking more enjoyable. I use knives made by craftsman Peter Lorimer (shown in the photos here). You can take a look at his range at www.lorimer.co.nz
Never use electric or serrated knives as these will saw and tear at the meat, leaving your perfect roast in jagged slices. Choose a knife with a sharp edge that is longer than the piece of meat you want to carve. This will ensure you cut in a single stroke, rather than in a back and forth motion that will shred the meat.
A long, thin blade will be easy to move between the joints of a whole bird, while a shorter, thicker blade will make it easier to slice a boneless beef roast. Whatever the knife, make sure it is sharp and clean. When using a carving fork to steady the meat while carving, don’t pierce too deeply. Also ensure the roast has rested, as this means the juices will have re-dispersed into the meat and won’t leak all over your chopping board.
Ready? Let's get into it....
CHICKEN
Trussing
The reason for trussing a chicken is to shape the bird evenly by preventing the legs and wings from poking out from the body and becoming dry during cooking. Trussing therefore helps keep the bird succulent and juicy, ensures even cooking and also keeps
any stuffing in the cavity.
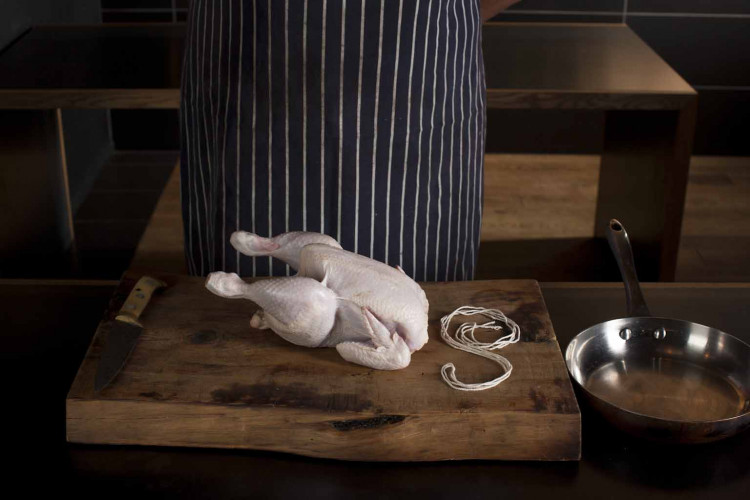
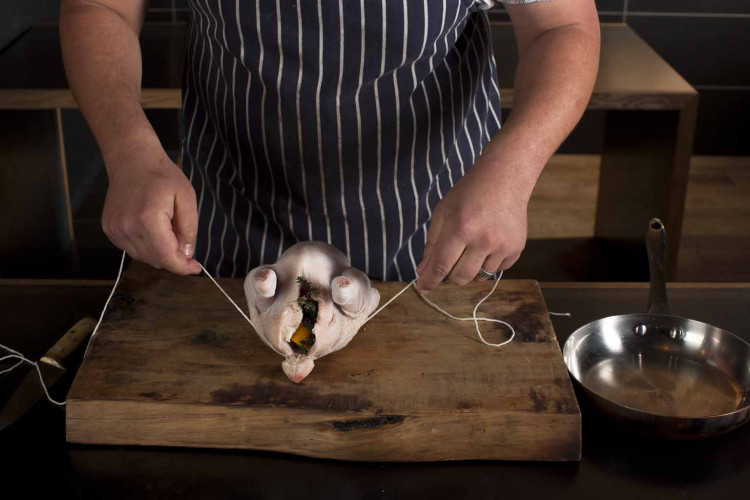
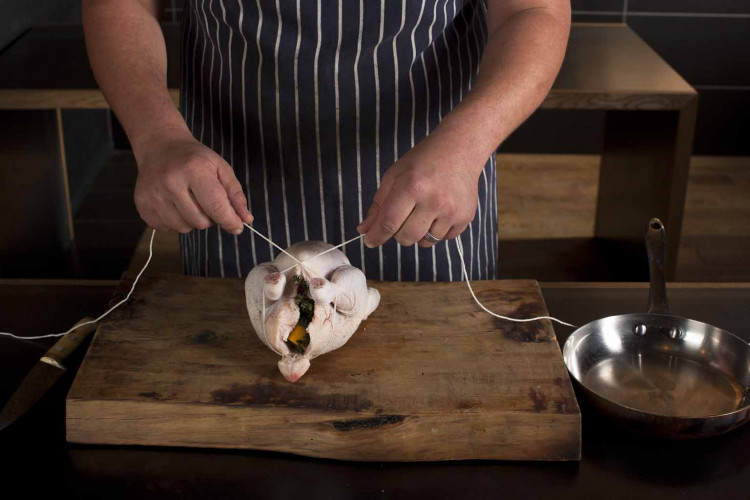
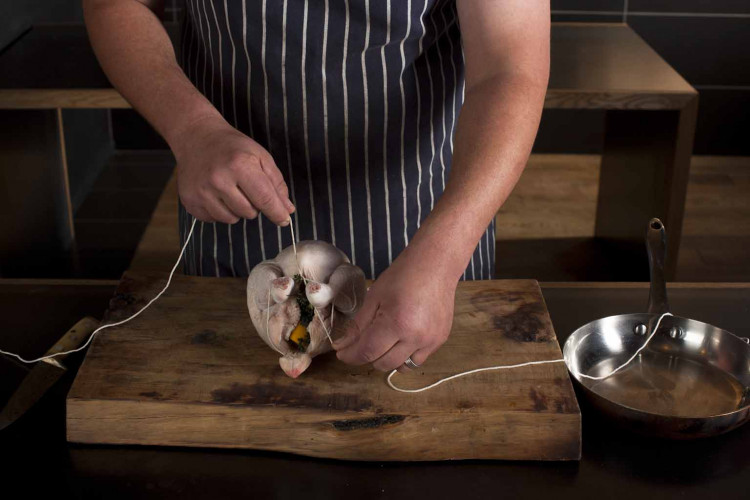
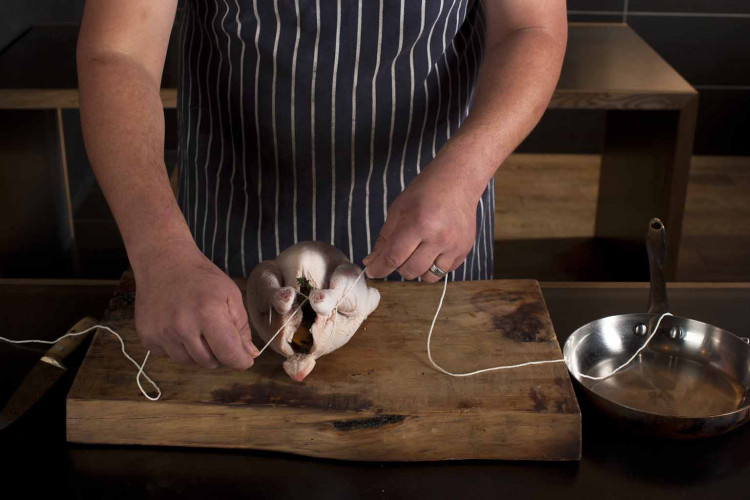
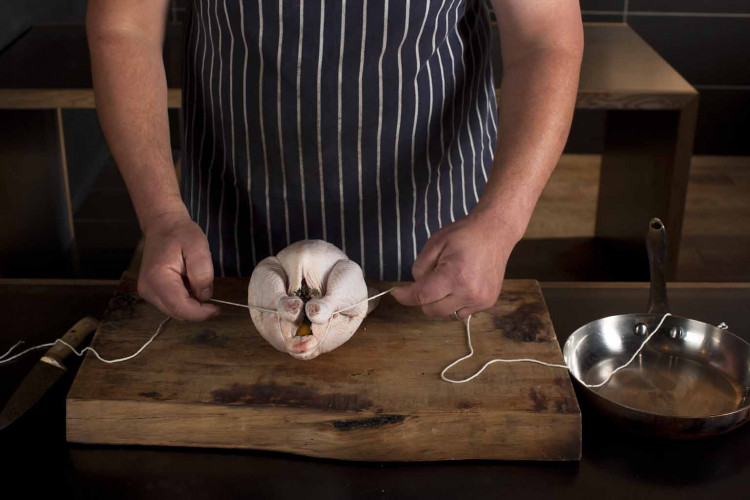
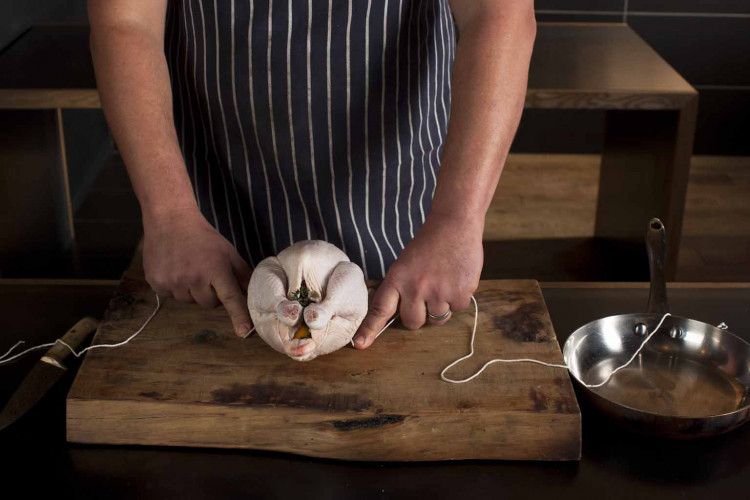
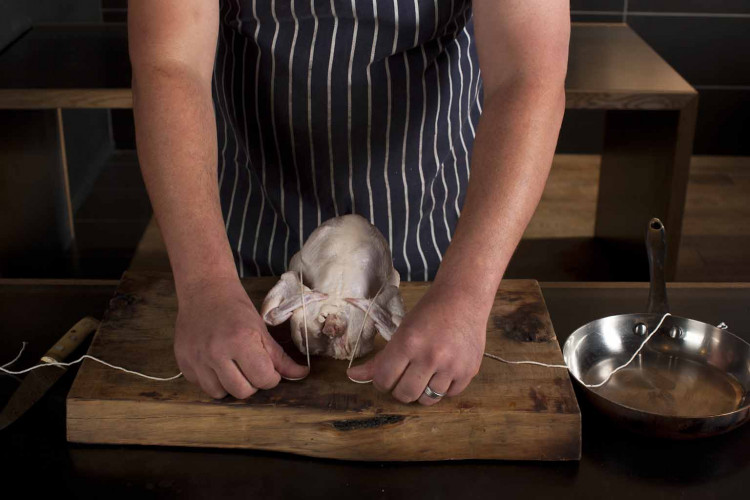
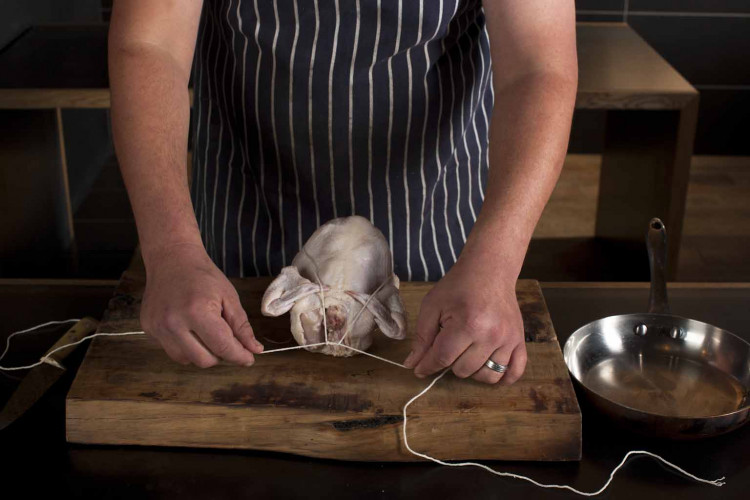

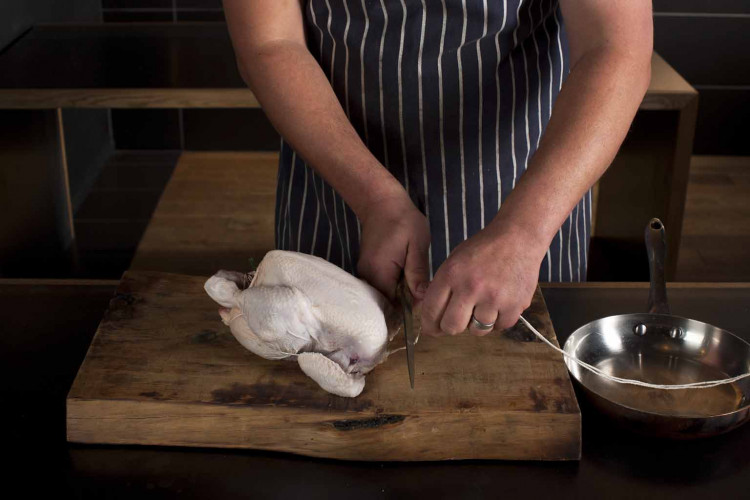
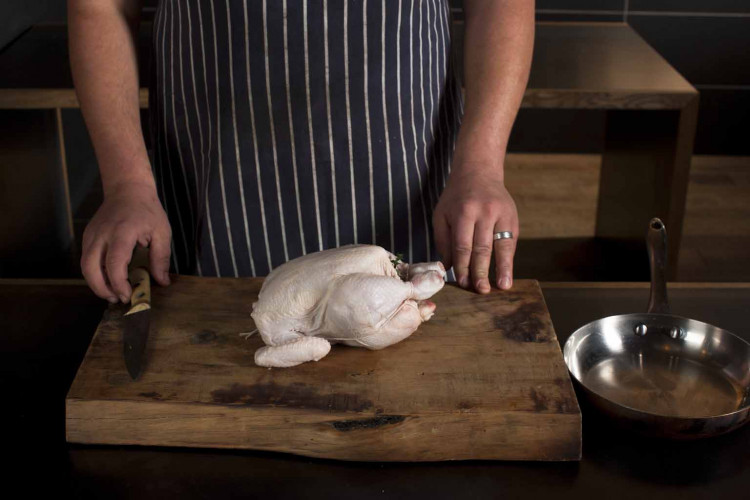
step 1 Place the chicken with the cavity facing away from you. Place the centre of the piece of string under the parson’s nose.
step 2 Bring the string upwards and across the lower part of the drumsticks, cross the string and pull firmly to help tuck the drumsticks in close to the bird’s body.
step 3 Bring your left hand down and loop the string around the lower part of the drumstick again.
step 4 Repeat with the opposite side.
step 5 Holding both pieces of string, pull firmly to bring the drumsticks together and close up the cavity.
step 6 Pull the string down towards the board.
step 7 Turn the chicken over, so the cavity is towards you. Pull the string forward and over the lower part of the wings.
step 8 Knot the string and pull taut under the chicken neck.
step 9 Trim the ends of the knot.
step 10 Ta-dah!
Carving
Remove the string from the bird and stuffing from the cavity.
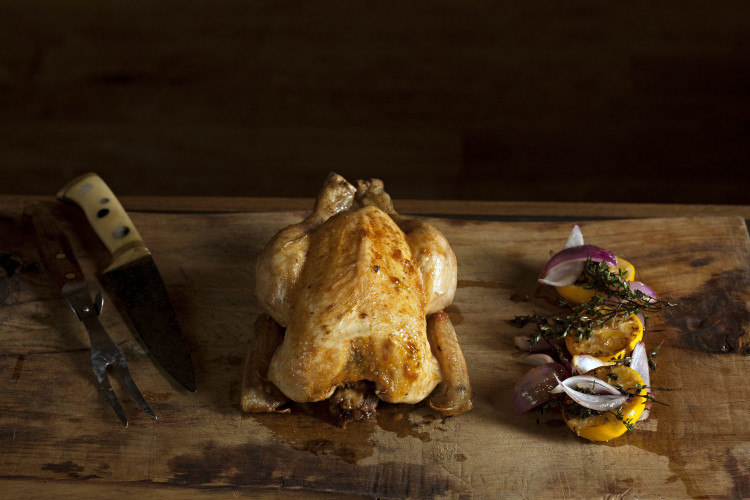
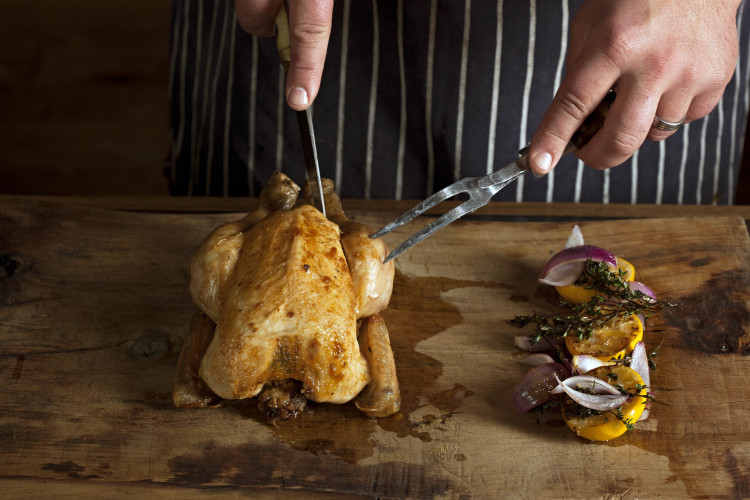
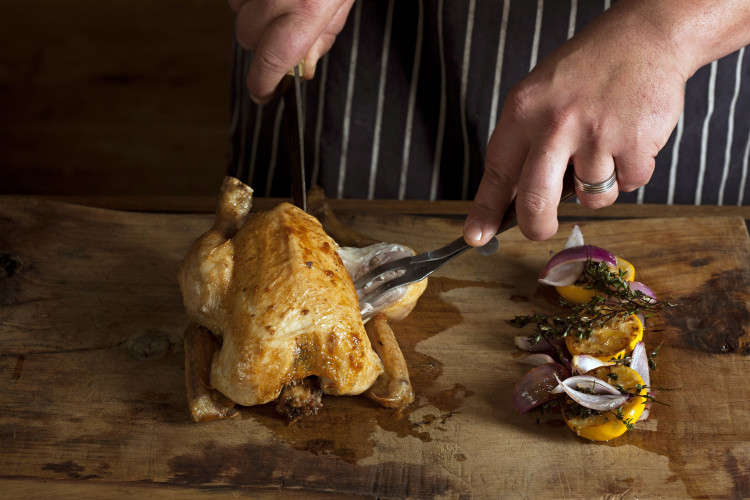
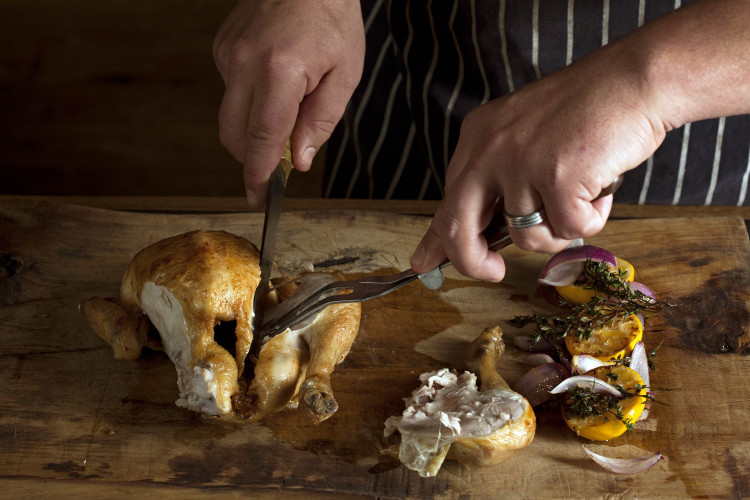
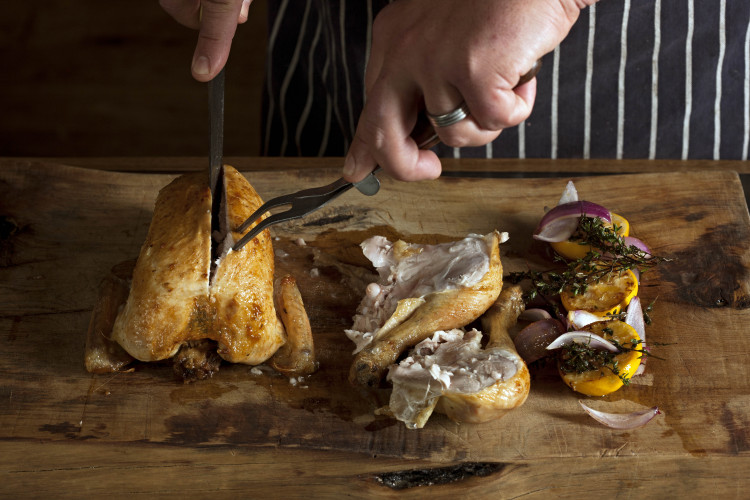
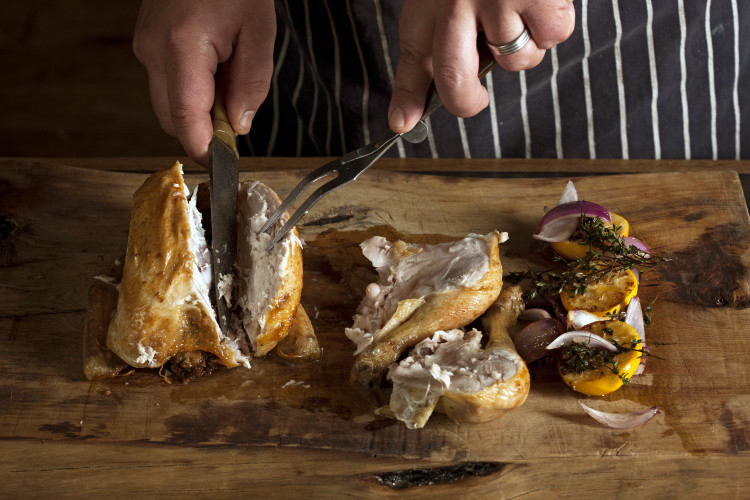
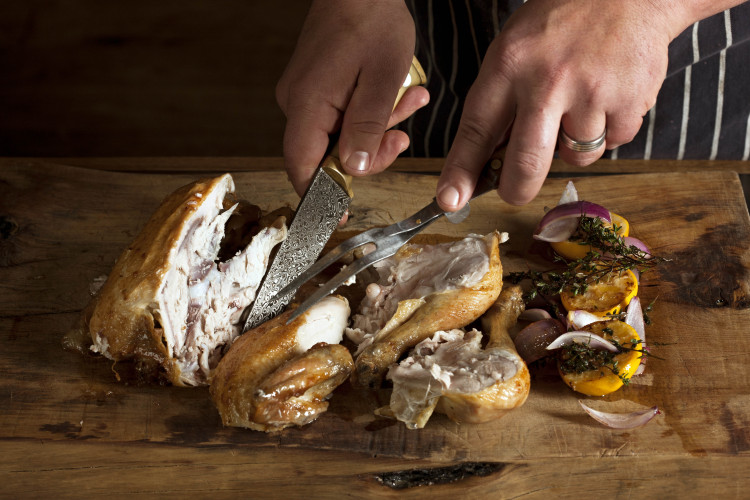
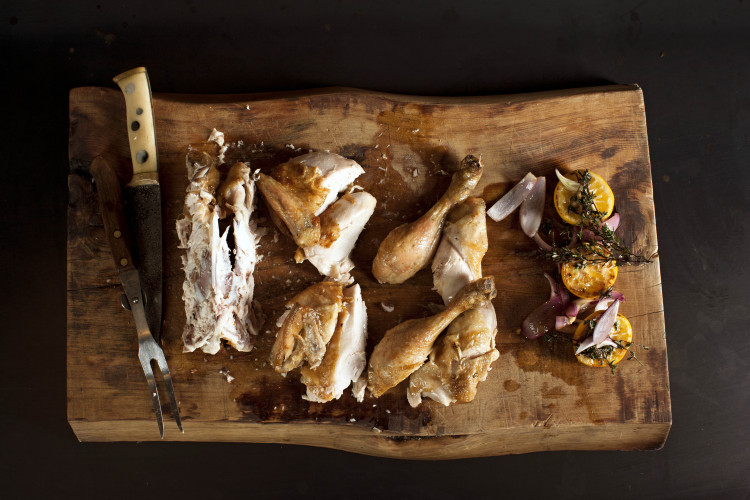
steps 1-2 Slice downwards through the joint to remove the leg and thigh together.
step 3 Turn the chicken to repeat on the
other side.
steps 4-6 Remove the breast and wings together by cutting down each side of the breastbone.
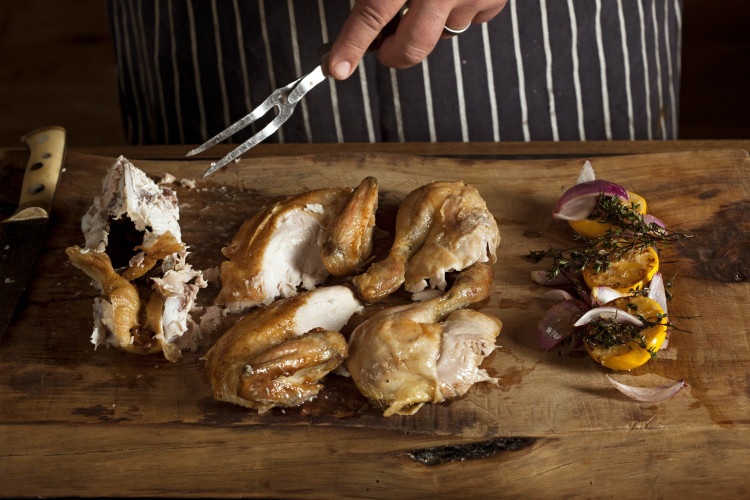
step 7 This gives you the chicken in four
main pieces.
step 8 You can now separate the legs from the thighs, and the wings from the breast. Cut each breast piece into two, to create eight portions of meat.
I’ve used a bolar roast here. This is a less expensive cut that is widely available. It’s taken from the animal’s shoulder, so can be tough, but if left to rest after roasting will become more tender.
Carving
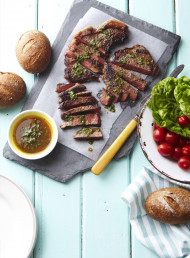
Turn the piece of meat fat side down before carving as this makes it easier to see the grain.
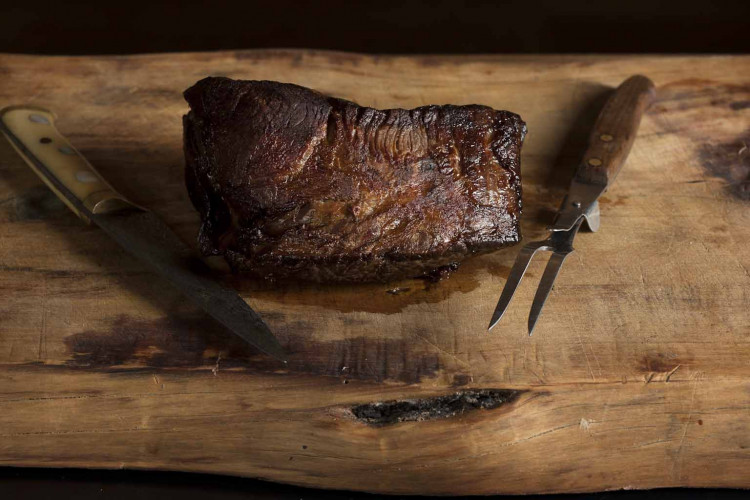
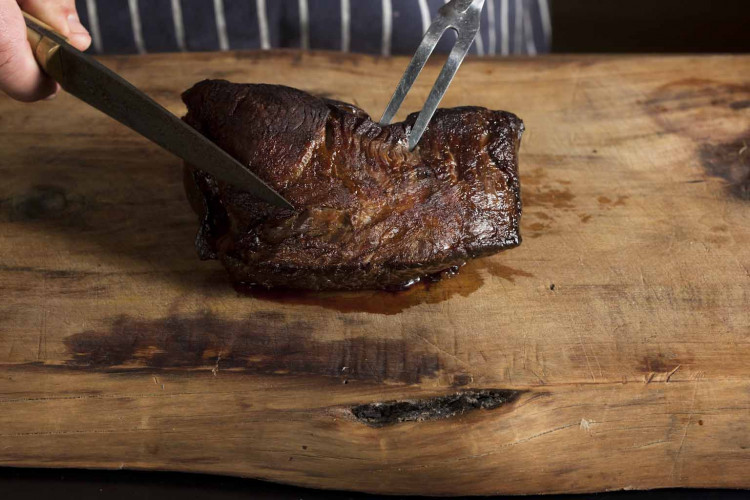
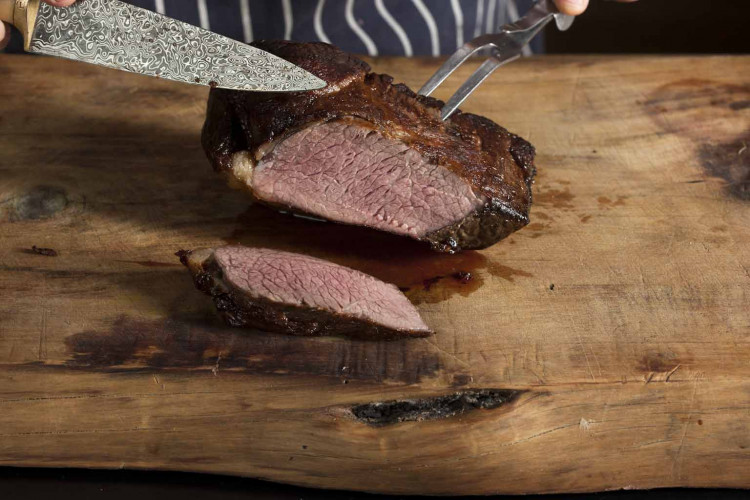
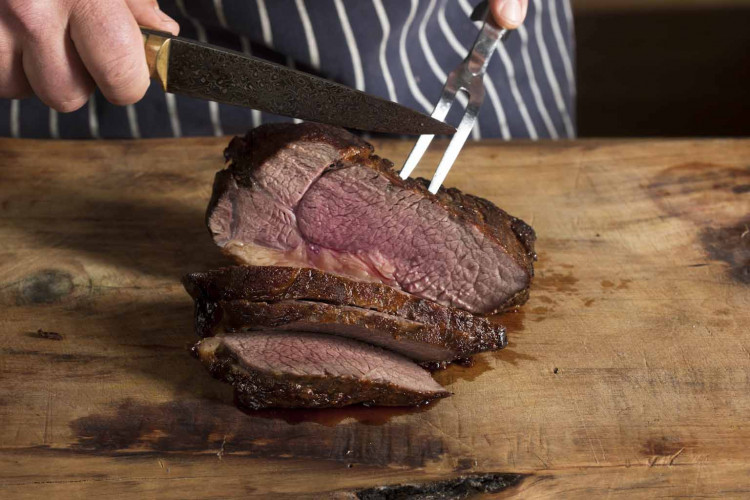
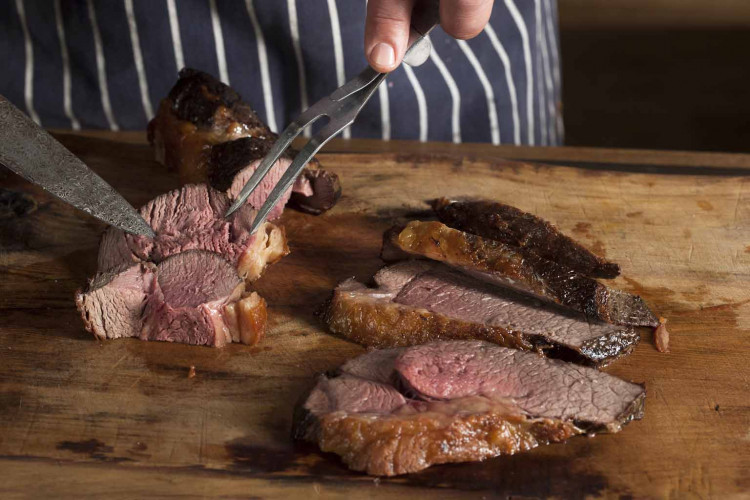
step 1 Identify the direction of grain – look for the fibres running through the meat. You want to cut across the grain (fibres) as this will make the meat less chewy.
steps 2-3 Slice through the meat, against the grain, to create even slices.
step 4 Continue cutting until you have all the slices you can cut.
steps 5-6 Cut any remaining pieces into additional portions.
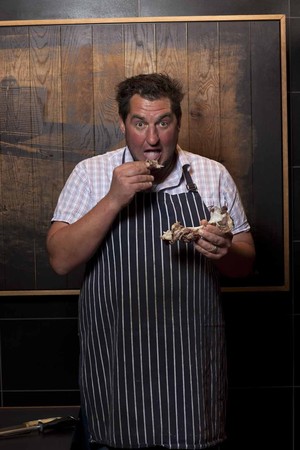
"Keep the bone for your next stock or for a midnight 'caveman-style' snack."
LAMB
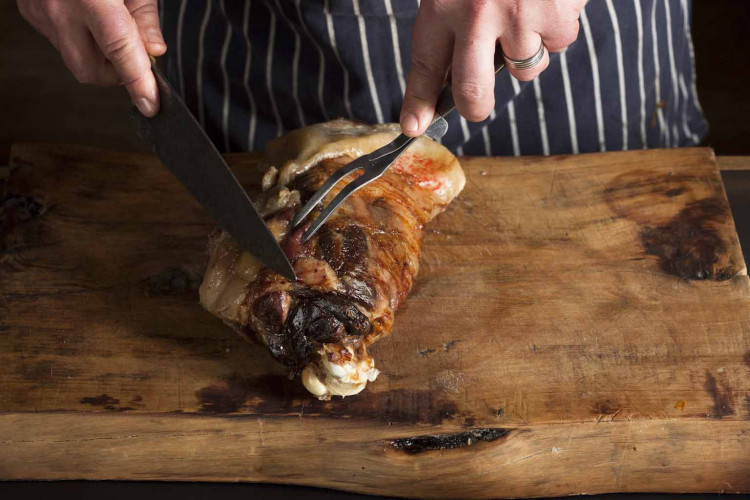
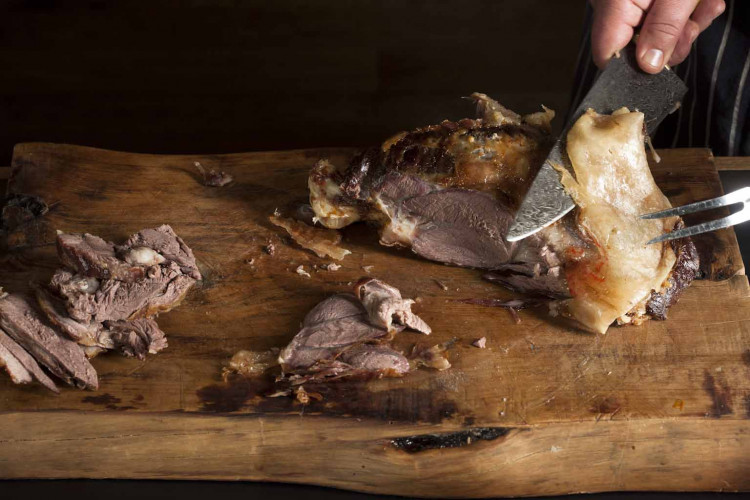
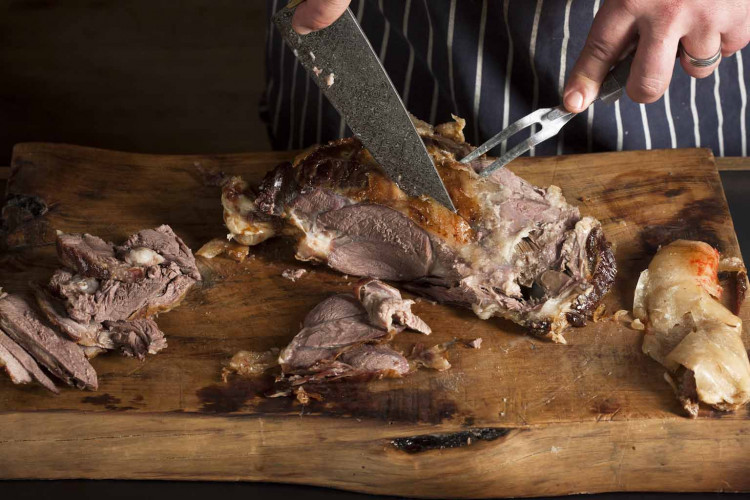
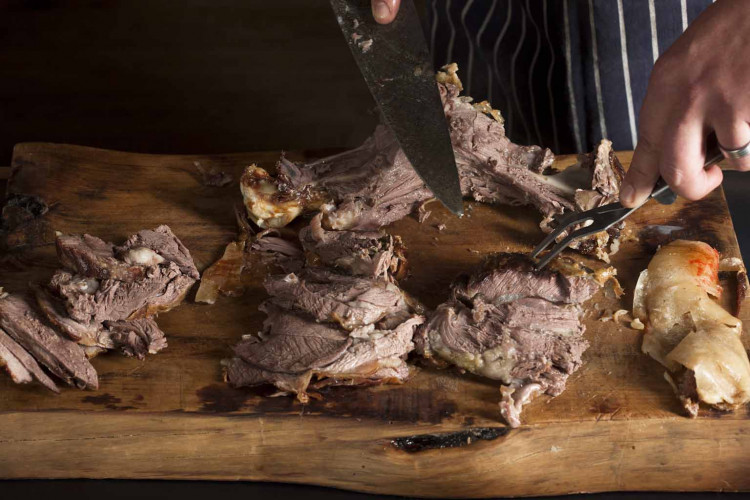
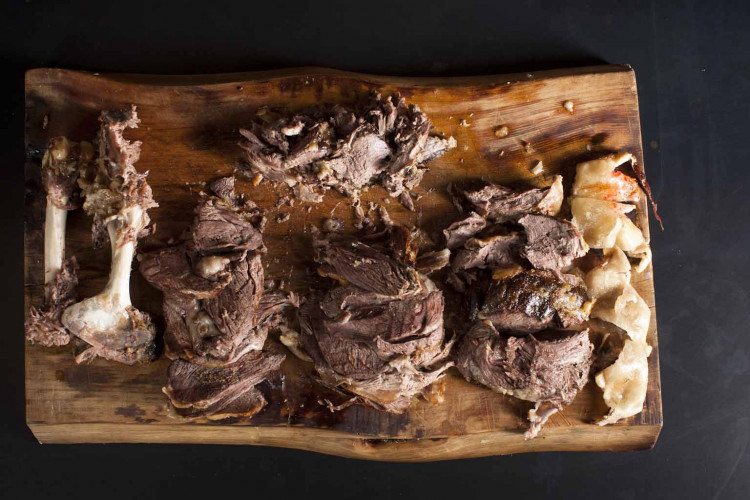
he leg in these photos has had the shank removed as it suits a slow braise rather than a dry roast. Look at your leg roast before you cook it, this is so you can identify the muscles and see where they join the bone. Move the meat and become comfortable with how it is ‘put together’. Identify which end is which and where it was in relation to the animal. This will give you a better understanding of how the muscles worked and give you a greater respect for the animal.
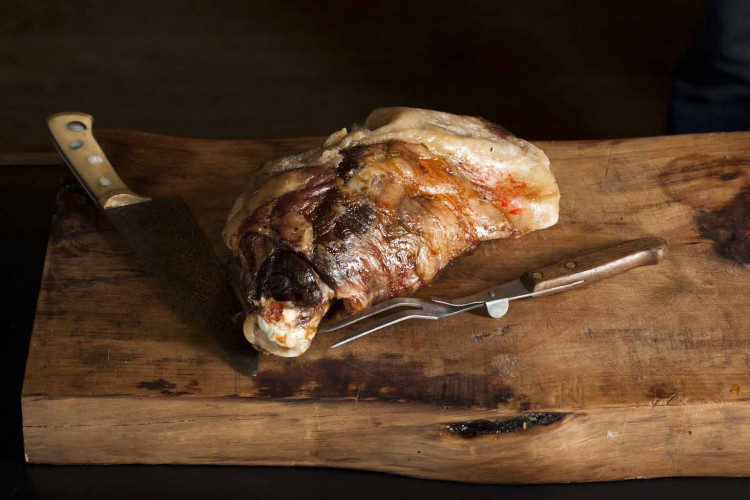
Carving
Once the leg has been cooked and rested turn it over a few times to identify where you will start and how you will approach the leg; take a few minutes to think through your carving technique.
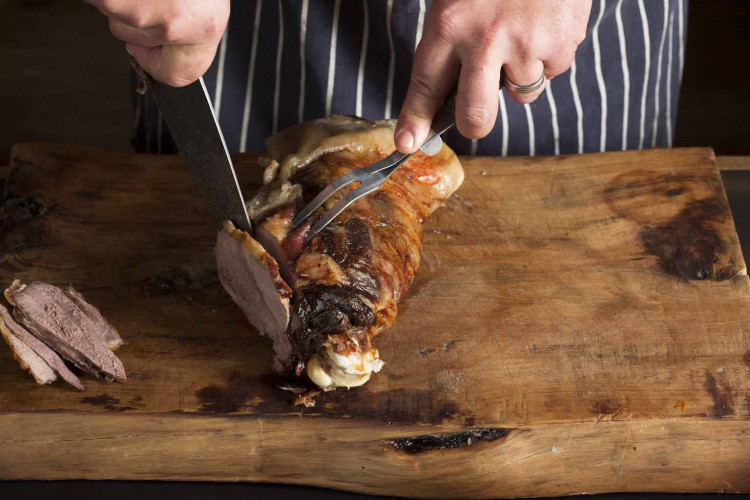
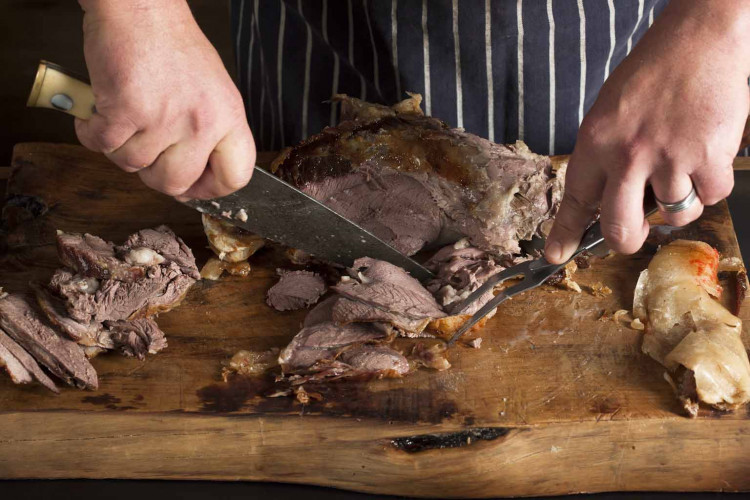
steps 1-5 Starting at the shank end, slice thin slices from both sides of the bone. Try to keep the fatty lamb 'crackling' intact as you carve. (Save as many pieces as you have guests, or none at all, whichever your willpower allows.)
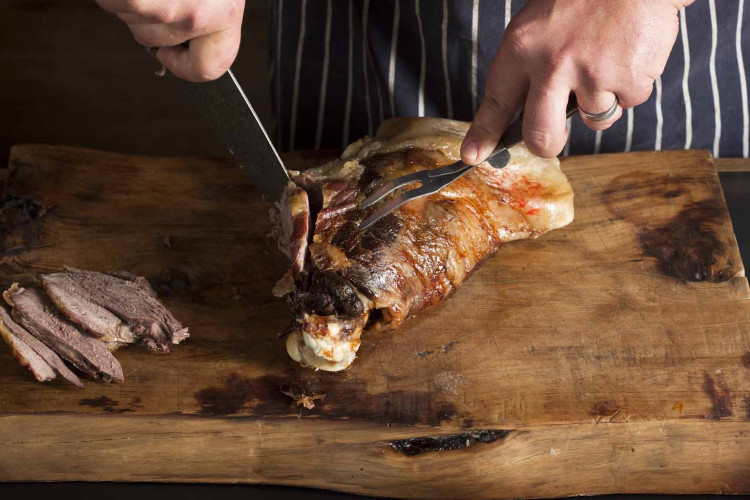
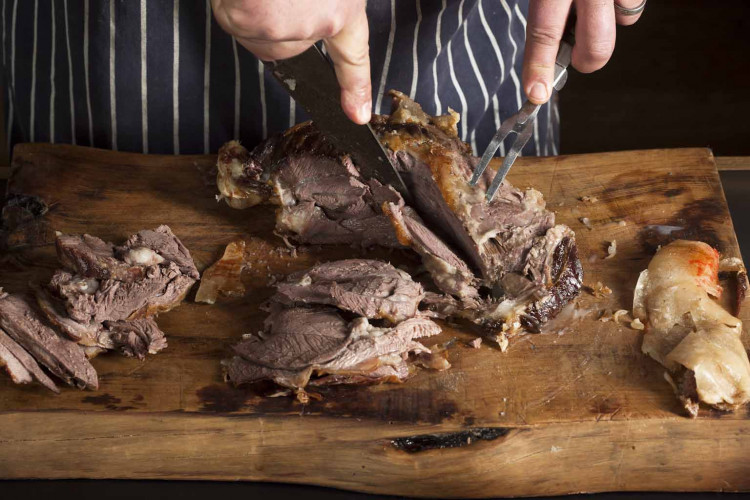
steps 6-7 Repeat the gentle carving process as you work towards the hip joint – remember the hip is wider and will yield slices that are more generous than the lower leg.
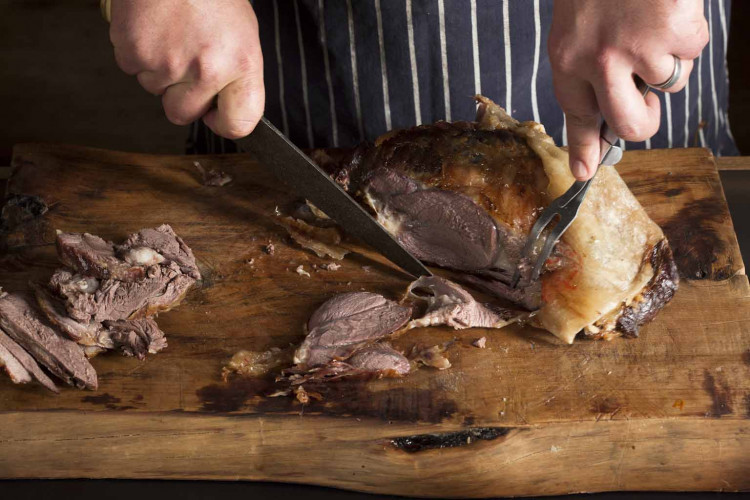
steps 8-9 Work your knife closer to the bones and remove as much of the meat as you can in slices. Each slice will be different as you are working with a large piece of meat with multiple muscles - you aren't seeking perfect presentation, you want something delicious to serve your guests.
steps 10-11 Most of the slices should now be away from the bone, so it's time to get in and scrape the bones clean. Always carve the whole leg, regardless of the number of guests. That way you're ready for tomorrow’s cold lamb sandwiches. Keep the bone for your next stock or for a midnight ‘caveman-style’ snack.
KNIVES
Sharpening Your Knife
Keeping a knife sharp will always make cooking easier. A sharp knife performs better and is safer to use because less pressure is required to cut. When too much pressure is exerted, the knife may slip and cut you.
It is important to note that a stone creates a new edge on a knife, while a steel will simply hone and straighten the edge. No matter how much you use a steel, it will not create an edge on a dull knife.
If you don’t have access to a sharpening stone, then you can get your knives sharpened professionally. Ask at your local kitchenware store or good food store for recommendations.
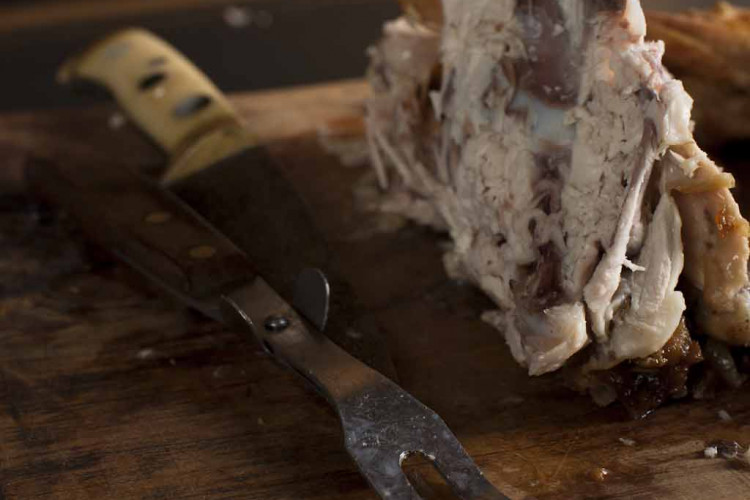
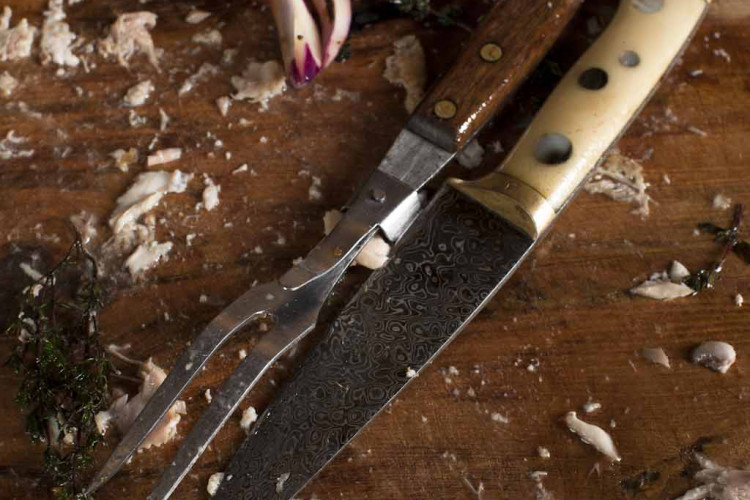
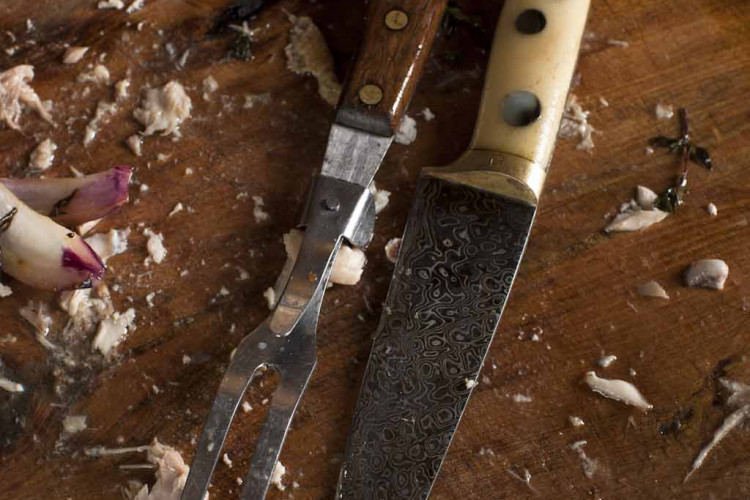
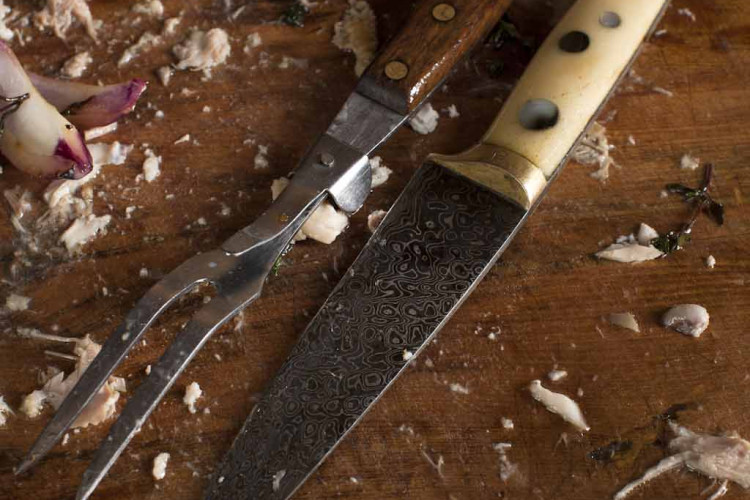
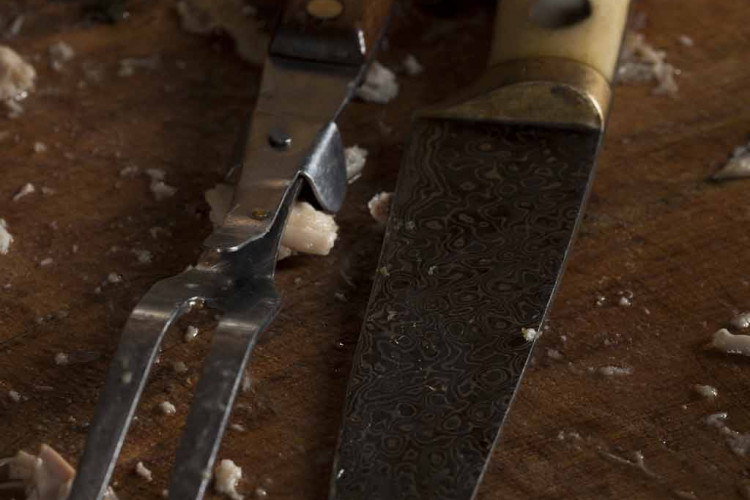
To sharpen the knife: place at a slight angle with the blade flat on the rough side of the prepared stone. The sharp edge should be facing away from you. Then raise the opposite edge about
15 degrees. Beginning with the thickest part of the blade, continue to hold the knife at that angle as you push the blade away from you in a smooth arc, finishing at the tip. Give it a few more strokes to raise a burr, and then switch to the other side of the blade. Once you feel a sharper edge, finish the sharpening on the finer side of the stone, lightening the stroke each time.
A Carborundum stone usually has two sides: a rougher, medium grit for shaping the edge, and a finer grit that finishes the sharpening by lightly removing the burr that builds up during shaping.
To use a steel: steels can be made either of high-carbon stainless steel coated with industrial diamond dust, or of ceramic. Buy one that's at least 25 cm long so there's plenty of surface to draw the knife from one end to the other. Use the steel every time you use the knife, drawing the blade at the same angle that's used with a stone. Be slow and methodical with all of these processes until you gain confidence.
Care
After each use, clean the knife with mild soap and water, and dry immediately. Never put a good knife in the dishwasher, where friction can damage its edge. High heat and detergent can also damage wood or polypropylene handles.
Take care not to drop your knives in the sink, they could be dented by heavy pots or you could be injured when reaching into the sink.
Never cut through bones with a carving or cook’s knife, as it can damage the blade's edge. Use a meat cleaver designed specifically for this purpose. Using a knife for anything other than cutting may bend or even break the blade. Knives will also stay sharper longer when used on a cutting surface that's easy on the blade, such as wood.
Storage
Proper storage will help your knives last longer. A wooden knife block should have a large, flat base and slots that are spaced for safe removal. If bench space is limited, try a wooden in-drawer knife tray or a chef knife roll. If you have space in your kitchen, a magnetic knife holder is great for holding blades firmly in place.
Safety tips
1 Keep your knives sharp.
2 When using a knife, always carve away from you. Never cut with the edge towards you or your fingers.
3 Don't leave sharp knives loose in a drawer. Someone will reach in and lose a finger.
4 If you drop a knife, immediately put your hands in the air (as if you’re in a bankthat’s being robbed). It will save your last remaining finger.
latest issue:
Issue #120
As the days become shorter, and the nights cooler, the latest issue is perfectly timed to deliver delicious autumn dishes. From recipes using fresh seasonal produce such as feijoas and apples, to spectacular soothing soups and super-quick after-work meals in our Food Fast section, we’ve got you covered. With Easter on the horizon, we feature recipes that will see you through breakfast, lunch and dinner over a leisurely weekend holiday, and whip up chocolatey baking treats sure to please. We round up delicious dinners for two and showcase a hot new Korean cookbook before heading south to Dunedin to check out all that’s new in food and dining.The latest issue of dish is on sale NOW at all good bookstores and supermarkets – don’t miss it!

